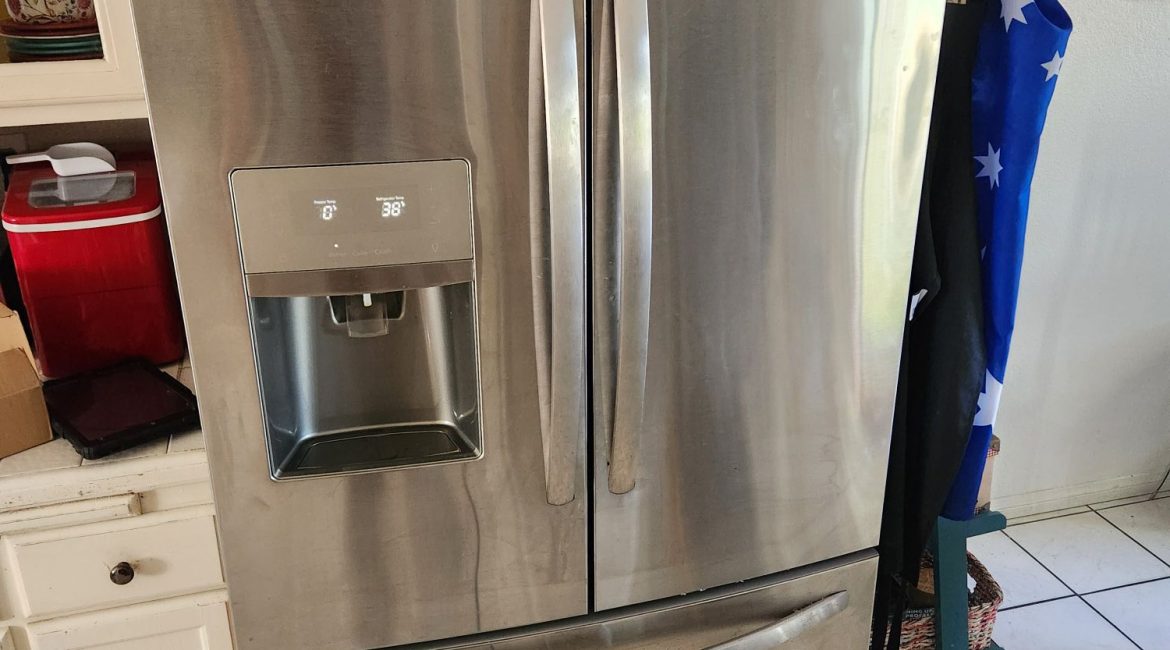
Your freezer plays a vital role in preserving food by maintaining a consistent cold environment. However, over time, ice can build up, reducing the efficiency of the appliance and taking up valuable storage space. Regular defrosting is essential to keeping your freezer running smoothly, preventing food spoilage, and extending the life of the appliance. In this article, we’ll explore why defrosting your freezer is so important and provide a step-by-step guide on how to do it right.
⠀
Why Defrosting Is Important
⠀
- Improves Energy Efficiency
One of the main reasons to defrost your freezer is energy efficiency. When ice builds up in the freezer, it forces the appliance to work harder to maintain the right temperature. As a result, the freezer consumes more energy, leading to higher electricity bills. In extreme cases, excessive frost can even cause your freezer to malfunction or stop cooling properly.
⠀
- Maximizes Storage Space
Ice buildup reduces the available space inside your freezer, limiting your ability to store food. Over time, the frost can make it difficult to organize items and reduce the capacity of the freezer. By defrosting, you free up space for more groceries, allowing you to store food efficiently and avoid overcrowding.
⠀
- Prevents Food Spoilage
Ice buildup can interfere with the freezer’s ability to maintain a consistent temperature. Uneven cooling can lead to partial thawing of food, causing spoilage and freezer burn. Freezer burn dries out food, affects its taste and texture, and reduces its quality. By keeping the freezer free of ice buildup, you ensure that your food remains properly frozen and fresh.
⠀
- Extends the Life of the Freezer
A freezer that has to work overtime to cool through layers of frost is under more strain, which can lead to mechanical problems. The compressor, which is the heart of the cooling system, may overheat or fail prematurely. Regular defrosting helps keep your freezer running efficiently, extending its lifespan and preventing costly repairs or replacements.
⠀
- Improves Appliance Performance
A freezer packed with frost may not close properly, allowing warm air to enter. This further compromises its performance and creates condensation that leads to even more ice buildup. Defrosting your freezer ensures that the door seals tightly, maintaining the optimal freezing environment.
How Often Should You Defrost Your Freezer?
⠀
The frequency of defrosting depends on the type of freezer you have. Manual-defrost freezers need to be defrosted every 6 to 12 months or when the frost buildup reaches ¼ inch in thickness. On the other hand, frost-free freezers automatically defrost themselves, so they typically don’t require manual defrosting. However, if you notice ice buildup even in a frost-free model, there may be a mechanical issue that needs professional attention.
⠀
How to Defrost Your Freezer: A Step-by-Step Guide
⠀
Defrosting a freezer is a straightforward process that requires a bit of planning. Follow these steps to ensure you do it right.
⠀
Step 1: Empty the Freezer
⠀
Start by removing all the food from the freezer. If you have a large amount of food that you need to keep frozen, consider using a cooler or storing it temporarily in another freezer. For a quick defrost, try to plan ahead by using up most of the items in the freezer before starting the process.
⠀
Step 2: Unplug the Freezer
⠀
To defrost, you’ll need to unplug the freezer from the power source. If your freezer is part of a fridge-freezer combo, be aware that this will also turn off the refrigerator. Make sure to plan accordingly and remove perishables from the fridge if the defrost process will take a while.
⠀
Step 3: Let the Ice Melt
⠀
Leave the freezer door open to let the ice melt naturally. You can place towels or rags at the bottom of the freezer to catch the melting water and prevent it from leaking onto the floor. Depending on how much frost has accumulated, this process can take a few hours. If you want to speed things up, you can place a bowl of hot water inside the freezer, but be careful to avoid damaging the freezer’s interior.
⠀
Step 4: Remove Ice Manually (If Needed)
⠀
If there’s a thick layer of frost, you may need to manually remove some of the ice. Do this gently using a plastic spatula or an ice scraper. Avoid using sharp objects like knives, as they can damage the freezer’s interior or cause injury.
Step 5: Clean the Freezer
⠀
Once the ice has melted, take the opportunity to clean the inside of the freezer. Use a mixture of warm water and mild dish soap to wipe down the shelves, drawers, and walls. This helps remove any food debris, odors, or stains that may have built up over time.
⠀
Step 6: Dry the Freezer
⠀
Before plugging the freezer back in, make sure it’s completely dry. Moisture left inside the freezer can lead to more ice buildup once the freezer is operational again.
⠀
Step 7: Plug In and Reorganize
⠀
Once the freezer is dry, plug it back in and allow it to cool for about 30 minutes before returning your food. Make sure to organize the food efficiently, leaving enough space for air to circulate and ensuring optimal freezing.
⠀
Tips to Reduce Frost Buildup
⠀
– Keep the Door Closed: Avoid leaving the freezer door open for extended periods. Warm air entering the freezer leads to condensation and frost buildup.
– Check the Door Seals: Ensure that the freezer door seals tightly. If you notice gaps or a loose seal, it may be time to replace the gasket.
– Organize Efficiently: Don’t overstuff the freezer, as this limits air circulation and leads to uneven cooling, which can contribute to frost formation.
⠀
If you’re experiencing issues with ice buildup or any other freezer problems, it may be time for a professional inspection. At Poway Appliance Repair Service Center, we specialize in diagnosing and fixing all types of freezer issues. Whether it’s defrosting problems, door seal issues, or mechanical failures, our expert technicians are ready to help. Contact us today for reliable and efficient service that keeps your freezer running smoothly!
Contact us


